Chapter 7 : TMPGENC DVD Author
I know
there are many DVD Authoring programs out there and some of them even do
re-encoding for you. But I
will just cover the basics for
doing up a DVD when you have the DVD-compliant MPG or
M2V+WAV files all ready.
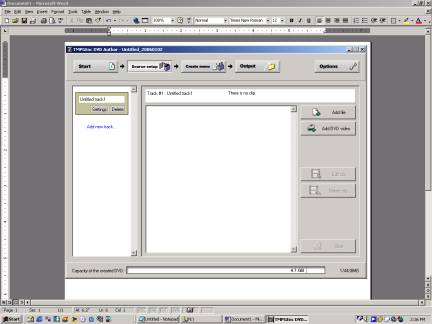
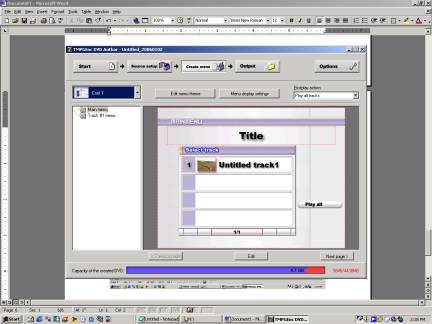
You start
up the program and this screen comes up as follows:

This
program is really easy to use, even has a flow chart of the steps on the top
bar for you.
Ok, we will
start by clicking on CREATE NEW PROJECT on the right hand side.
Up comes this
new window and the flow chart moves to the next box. At this point, you get to add the video files you have
in what ever order you want them to be on your DVD.
Click on
the ADD FILE button on the right, to begin selecting which files go on your
DVD.
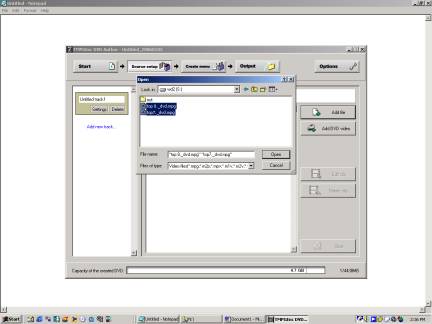
A browser
window comes up and allows you to pick your video files. If you like you can pick them one
file at a time or like I have above, selected two files at once.
Once you
highlighted your file (or files) you want to load, then click on OPEN.
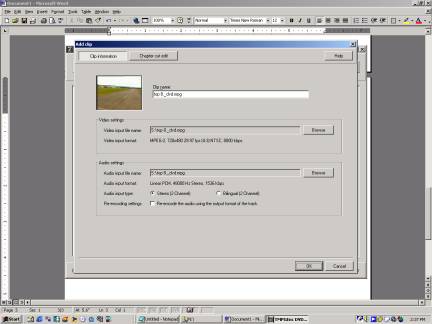
OK, this
confirmation window pops up with lots of information about the video file you
picked. Just press OK. If you selected multiple files like I
did, you will be given multiple screens displaying the information about the
files. Just press OK.
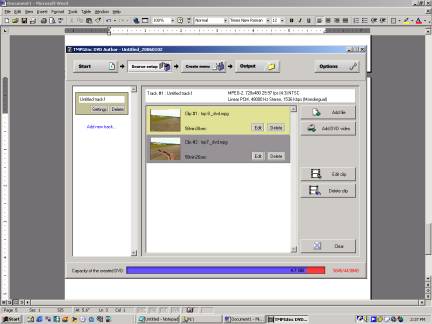
Ok, we are
back to the main menu again, with your movies that you have selected. Now you may notice that I have
two episodes of Top Gear here and that episode 8 is before episode 7 on the
menu.
Well, you
can click on the graphic for the movie file and drag and drop it to the correct
spot on your DVD time line.
OK, so I am
finished adding my movie files to this DVD. You may also note there is a file size meter at the
bottom of this window. You
will also notice that my DVD is already too big to fit on a standard 4.7G DVD-R. We will use DVD Shrink to deal with this problem
later.
So now we
will move on to CREATE MENU.
Click the button on the flow chart and this new window will appear.
Ok, you can
get fancy here and you can do your own thing and use your own templates. Go nuts.
But I will
just use a basic template.
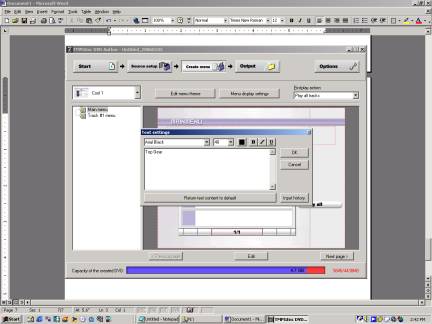
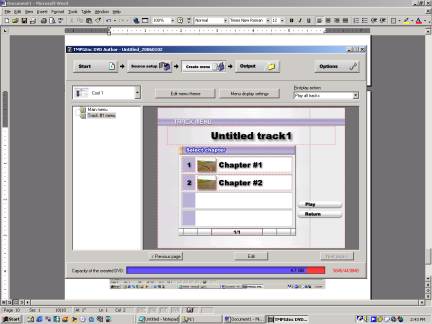
To change
the things on the template you simply double click on them.
So in my
example, I will double click on
TITLE, and change it to TOP GEAR, as shown below.
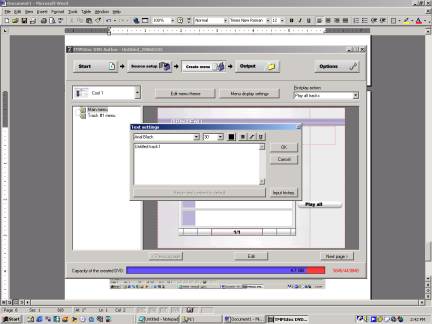
I can also
click on the word UNTITLED TRACK
#1, to Season 5, as shown below.
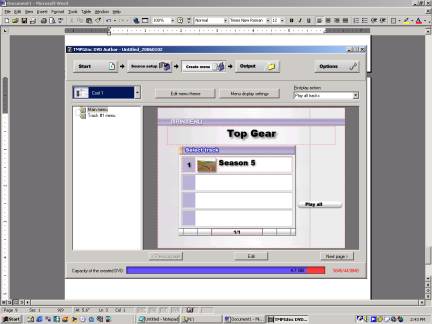
So the
final product for our menu screen will look like this picture below:
Now we are
finished this page, we click on the button labeled, NEXT PAGE.
This will
let us name the chapters on the DVD.
This second
menu page will appear. This menu
corresponds to the video files you choose. Chapter #1 and Chapter #2 correspond the 2 files I
picked in the beginning. So in
this example, I will relabel
UNTITLED TRACK 1 to Season 5, and I will change Chapter #1 , to
Episode 7 and Chapter #2 to Episode 8.
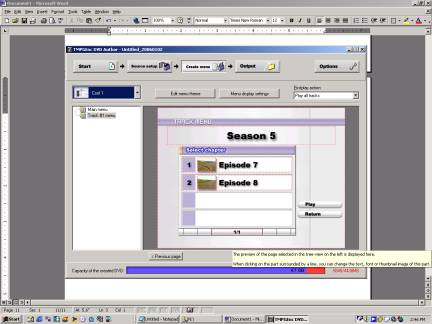
The fixed
menu will now look like this.
So we are
done fiddling with the menu, we can now click that last box on the flow chart
labeled OUTPUT.
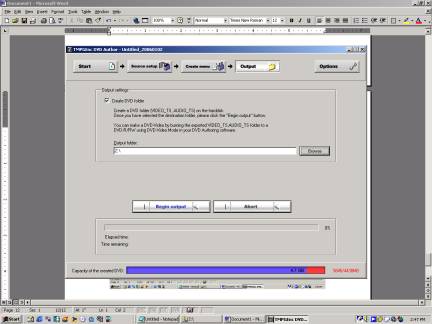
It will
basically show us where do we want the file to be saved. You will need 5845 MB of hard drive space to author this DVD so you better
have the room.
Click on
BROWSE if you need to change the directory.
Click on
BEGIN OUTPUT if you are ready to go.
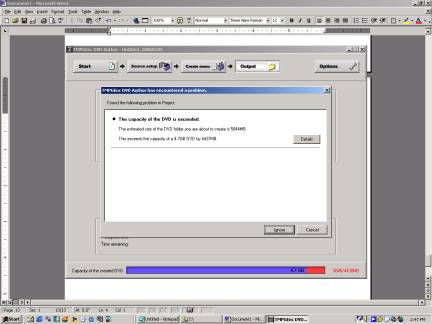
Now
remember I mentioned that the files I picked exceeded 4.7G so it will come up
and warn me again that the DVD is too large to fit on a single DVD.
Click on
IGNORE.
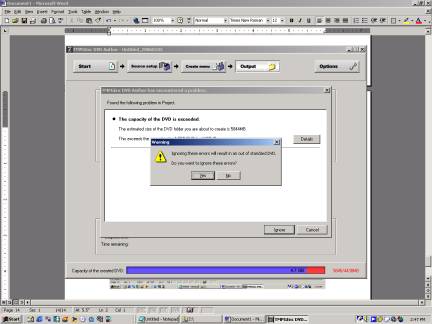
Yes, it
likes to OVER warn us. Click
OK again.

Ok, it will
do its thing. There is a meter
to tell you how far it has gone.
Now when we
are all done, we will have a series of VOB, IFO and BUP files just like you
would have if you used DVD Decryptor to rip a DVD.
So just
like in lesson 1, if it is under
4.7G you can go straight to Nero and burn.
If you are
over 4.7G, then use DVD Shrink to
reduce the size so it will fit.